Source Code
import RPi.GPIO as GPIO import time import sys import tm1637 from datetime import datetime
tm = tm1637.TM1637(clk=3, dio=2, brightness=2) tm.show("", True)
GPIO.setwarnings(False) GPIO.cleanup() GPIO.setmode(GPIO.BCM)
MODE_SHOW_CURRENT_TIME = 1 MODE_SETTING_ALARM = 2 mode = MODE_SHOW_CURRENT_TIME
STR_NO_ALARM = '-- --' KEY_SHOW_ALARM = 'A' # Press to show alarm time KEY_CHANGE_ALARM = 'B' # Click and type in alarm time, click again to set KEY_CLEAR_ALARM = 'C' # Clear 1 digit when setting alarm ROW = [25, 8, 7, 1] COL = [12, 16, 20, 21]
MAP = [["D","#","0","*"], ["C","9","8","7"], ["B","6","5","4"], ["A","3","2","1"]]
for pin in ROW: GPIO.setup(pin, GPIO.OUT) GPIO.output(pin, GPIO.LOW)
for pin in COL: GPIO.setup(pin, GPIO.IN, pull_up_down=GPIO.PUD_DOWN)
def scan(): for r in range(0, len(ROW), 1): GPIO.output(ROW[r], GPIO.HIGH) for c in range(0, len(COL), 1): if GPIO.input(COL[c]) == GPIO.HIGH: while(GPIO.input(COL[c]) == GPIO.HIGH): time.sleep(0.1) pass GPIO.output(ROW[r], GPIO.LOW) return MAP[r][c] sys.stdout.flush() break GPIO.output(ROW[r], GPIO.LOW)
return None
alarm = list("----") alarm_index = 0 display_str = "" try: while True: key = scan() # key = None if there is no key pressed
# If any key pressed
if key != None:
  print(" Entered: " + key)
  # Go to setting alarm mode
  if mode == MODE_SHOW_CURRENT_TIME:
    if key == KEY_CHANGE_ALARM:
      mode = MODE_SETTING_ALARM

  elif mode == MODE_SETTING_ALARM:
    # number keys 0~9, add to alarm[]
    if '0' <= key and key <= '9':
      if alarm_index < 4:
        alarm[alarm_index] = key
        alarm_index = alarm_index + 1
    # Clear 1 number on alarm setting
    elif key == KEY_CLEAR_ALARM:
      if alarm_index > 0: alarm_index = alarm_index - 1
      alarm[alarm_index] = "-"
    # Set alarm and back to show current time mode
    elif key == KEY_CHANGE_ALARM:
      print("alarm set to " + f"{alarm[0]}{alarm[1]}:{alarm[2]}{alarm[3]}")
      mode = MODE_SHOW_CURRENT_TIME

current_time = list(datetime.now().strftime("%H%M"))
dot = ":"
if int(datetime.now().strftime("%S")) % 2 == 0:
  dot = " "

if   mode == MODE_SHOW_CURRENT_TIME:
  # Check if alarm should be triggered
  if current_time == alarm:
    print(" Alarm triggered!")
  # Prepare display string
  display_str = ''.join([current_time[0], current_time[1], dot, current_time[2], current_time[3]])

elif mode == MODE_SETTING_ALARM:
  display_str = f"{alarm[0]}{alarm[1]}:{alarm[2]}{alarm[3]} setting alarm mode"

print(f'\r{display_str}', end='')
time.sleep(0.1)
except KeyboardInterrupt: print("Bye bye") GPIO.cleanup()
Progress
230325
Show the log of the service
sudo journatctl -u slapping_alarm.service
230318
Case install
Pin socket install
Linux service: systemd
/etc/systemd/system/slapping_alarm.service[Unit] Description=Slapping Alarm [Service] WorkingDirectory=/path/to/py_srcipt_folder ExecStart=/path/to/python /path/to/py_srcipt_folder/py_script Restart=always # Restart service after 10 seconds if this service crashes: RestartSec=10 KillSignal=SIGINT User=root [Install] WantedBy=multi-user.target# Start the service sudo systemctl start slapping_alarm.service # Stop the service sudo systemctl stop slapping_alarm.service # Enable the service so the service can start on every boot sudo systemctl enable slapping_alarm.service # Show status sudo systemctl status slapping_alarm.service
230310
trigger motor
trigger beeper
Determine beeper or speaker
Play sound
pip3 install pydub
230305
Python: continue in while
limit 4 digits
limit proper time range
trigger alarm once
230218
Local var, global var
Function return type
Blink time colon every second or milli second (by modulo)
Alarm display mode: finished
Show alarm mode: finished
Alarm setting mode: on the way,
Solve blinking problem, by only clear display when mode switching
Implement "D" key to delete a character and handle edge cases
Limit alarmset to 4 digits
Limit proper time range
230211
Check assignments
Nested for loop and list with keyboard scanning
Motor, generator
Function of each key (A,B,C,D)
230204
Check on assignment: Concatenate clicked key and print
Assignment1: Print previous clicked keys(history) and current clicked key.
For example,press "0" and prints "0"
press "8", and prints "08"
press "A", and prints "08A"
Finished, checked on 230211
Assignment2: Pick a key, let's say "C", as backspace. When "C" is pressed, remove last key from history and print it.
For example,press "0" and prints "0"
press "8", and prints "08"
press "C", and prints "0"
press "C", and prints ""
press "C", and prints ""
Finished, checked on 230211
Set alarm
Implement 2 modes, a show current time mode that displays current time and blink the colon; an alarm setting mode that user can set alarm.
After initialization, it should be in show current time mode. You can press "B" to enter alarm setting mode. It should displays current alarm setting without blinking the colon. And pressing number keys 0~9 can type the digits. Pressing "B" again sets the alarm and goes back to show current time mode.
TODO: Implement clear key "C" and set alarm key "B".
Triger the alarm
After the alarm is set and back to show current time mode, you should print "Alarm triggered!" when current time matches the alarm time.
TODO: The program should prints "Alarm triggered!" when current time matches alarm.
TODO: When the alarm is triggered, activate the servo.
TODO: When current time matches alarm time right after alarm is set, the alarm should not be triggered.
230107
Connect raspberri pi with laptop hotspot
When using raspberry pi without home wifi, you can create a wifi hotspot from PC or cellphone.
Note that if you are using cellphone hotspot, you have to connect your PC and pi to the same hotspot.
Config hotspot on PC or cellphone with the SSID and the password that raspberry pi remembers
Turn hotspot
Turn on raspberry pi
Go to the hotspot settings, it usually shows the connected devices
Wait for raspberry pi to appear and get its private IP address
On some cellphones, only the connected device count is shown. In such case, you have to remember the host name of your raspberry pi. You can do that by the commandhostnameusername@raspberrypi:~$ hostname raspberrypiThen try to ping
hostnameorhostname.localon PC and see if either one replies:ping raspberrypi ping raspberrypi.localYou can now ssh to your raspberry pi with private address or hostname.
Note that if onlyhostname.localreplies on ping, you should connect it throughhostname.local:ssh username@raspberrypi.local
Python: string
String1 = "GeeksForGeeks" print("Initial String: ") print(String1) # Printing First character print("\nFirst character of String is: ") print(String1[0]) # Printing Last character print("\nLast character of String is: ") print(String1[-1]) # Slicing # Printing 3rd to 12th character print("\nSlicing characters from 3-12: ") String1_sliced = String1[3:12] print(String1_sliced) # Printing characters between # 3rd and 2nd last character print("\nSlicing characters between " + "3rd and 2nd last character: ") print(String1[3:-2]) # Modify string with list # You cannot modify string elements directly # Convert to list first str_list = list(String1) str_list[3:10] = ['k'] * 7 # 3,4,5,6,7,8,9 modified new_str_from_list = ''.join(str_list) print(str_list) print(new_str_from_list) # Modify string with directly assignment and + new_str_assigned = String1 new_str_assigned = new_str_assigned[0:-1] + new_str_assigned[0]
Function and return value
Function declared with function name func_1. And param1 and param2 are parameters of func_1. They are going to be used infunc_1. A function can also be declared without any parameter, e.g., printing current time.
# function declaration
def func_1(param1, param2):
  # some computations / opertations using parameters
  # ...
  print("The value is: ", end="")
  print(param1 + param1 * param2)
Function is also known as subroutine, and you can invoke a subroutine instead of write multiples lines.
# function declaration
def fahrenheit_to_celsius(f):
  c = (f - 32) / 1.8
  return c

print("fahrenheit: ", end='')
f = input()
f = int(f) # convert f from string to int
c = fahrenheit_to_celsius(f)
print("celsius: ", end='')
print(c)
Concatenate clicked key and print
Assignment1: Print previous clicked keys(history) and current clicked key.
For example,press "0" and prints "0"
press "8", and prints "08"
press "A", and prints "08A"
Assignment2: Pick a key, let's say "C", as backspace. When "C" is pressed, remove last key from history and print it.
For example,press "0" and prints "0"
press "8", and prints "08"
press "C", and prints "0"
press "C", and prints ""
press "C", and prints ""
221218
Go through previous lectures
221211
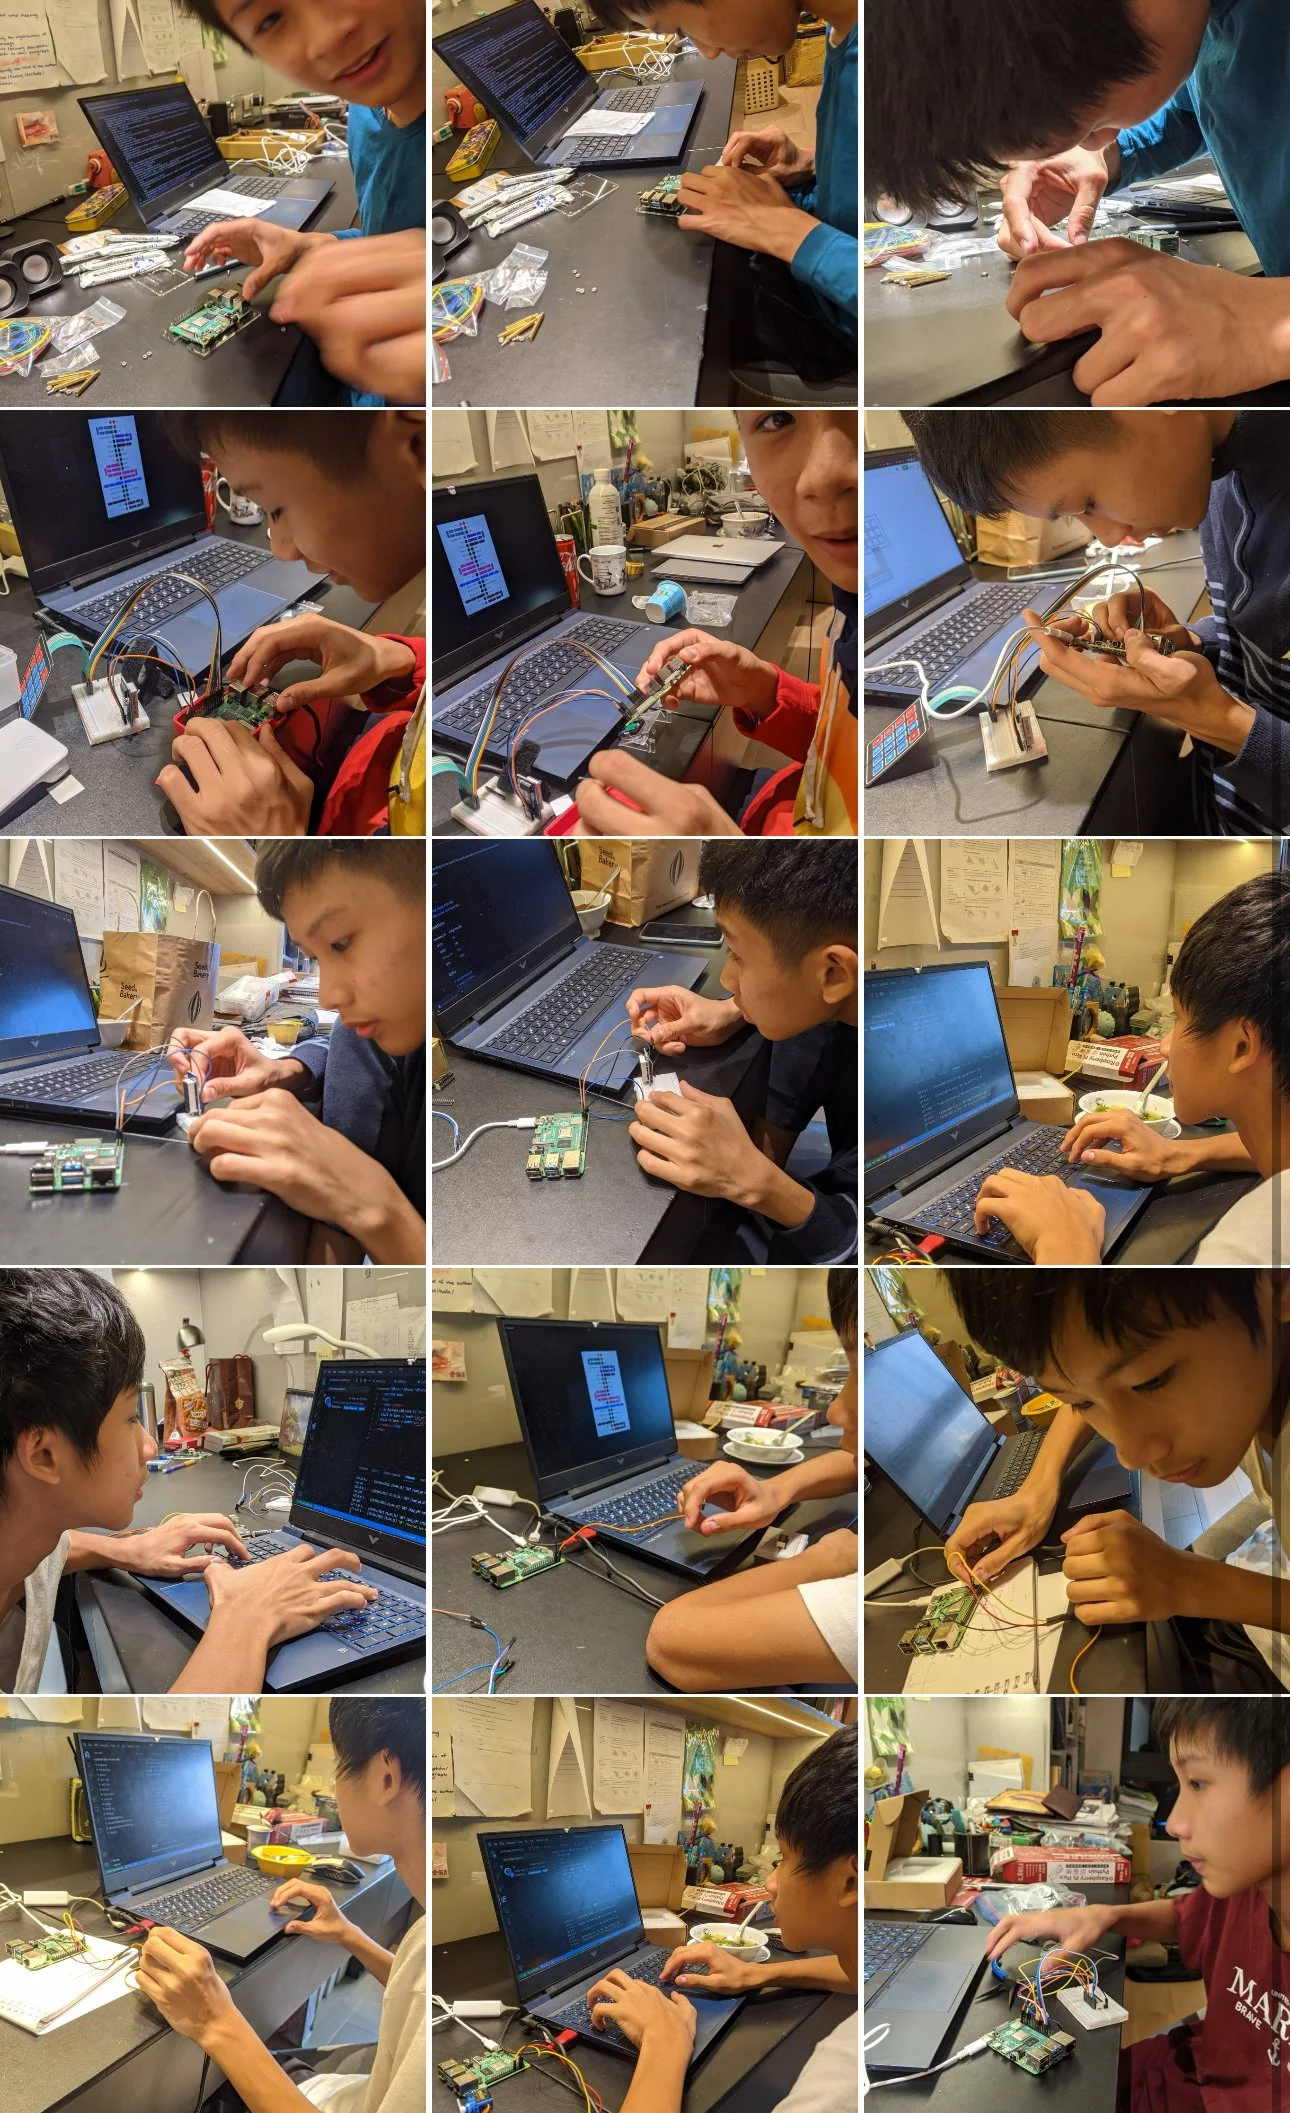
7 segment display module (TM1637)
Reference: raspberrypi-tm1637
      A
     ---
  F |   | B   *
     -G-      H (on 2nd segment)
  E |   | C   *
     ---
      D

  HGFEDCBA
0b01101101 = 0x6D = 109 = show "5"
Matr
# import required libraries import RPi.GPIO as GPIO import time # Initialize the GPIO pins GPIO.setwarnings(False) GPIO.cleanup() GPIO.setmode(GPIO.BCM) # these GPIO pins are connected to the keypad # change these according to your connections! L1 = 25 L2 = 8 L3 = 7 L4 = 1 C1 = 12 C2 = 16 C3 = 20 C4 = 21 GPIO.setup(L1, GPIO.OUT) GPIO.setup(L2, GPIO.OUT) GPIO.setup(L3, GPIO.OUT) GPIO.setup(L4, GPIO.OUT) # Make sure to configure the input pins to use the internal pull-down resistors GPIO.setup(C1, GPIO.IN, pull_up_down=GPIO.PUD_DOWN) GPIO.setup(C2, GPIO.IN, pull_up_down=GPIO.PUD_DOWN) GPIO.setup(C3, GPIO.IN, pull_up_down=GPIO.PUD_DOWN) GPIO.setup(C4, GPIO.IN, pull_up_down=GPIO.PUD_DOWN) # The readLine function implements the procedure discussed in the article # It sends out a single pulse to one of the rows of the keypad # and then checks each column for changes # If it detects a change, the user pressed the button that connects the given line # to the detected column def readLine(line, characters): GPIO.output(line, GPIO.HIGH) if(GPIO.input(C1) == 1): print(characters[0]) if(GPIO.input(C2) == 1): print(characters[1]) GPIO.output(line, GPIO.LOW) try: while True: # call the readLine function for each row of the keypad readLine(L1, ["1","2","3","A"]) readLine(L2, ["4","5","6","B"]) time.sleep(0.1) except KeyboardInterrupt: print("\nApplication stopped!") GPIO.cleanup()
221127
Servo
TODO: Evaluate the function of angle f() that outputs duty cycle.
Hint: duty cycle = high duration / (high+low duration)
f(0) = 1/20
f(90) = 1.5/20
f(180) = 2/2
import RPi.GPIO as GPIO import time PWM_FREQ = 50 def angle_to_duty_cycle(angle=0): # TODO duty = (0.05 * PWM_FREQ) + (0.19 * PWM_FREQ * angle / 180) return duty SERVO_PIN = 18 GPIO.setwarnings(False) # disable warnings GPIO.setmode(GPIO.BCM) # set pin numbering mode GPIO.setup(SERVO_PIN, GPIO.OUT) # set pin to output mode GPIO.output(SERVO_PIN, GPIO.LOW) # turn pin to low GPIO.setup(SERVO_PIN, GPIO.OUT) pi_pwm = GPIO.PWM(SERVO_PIN, PWM_FREQ) # create PWM instance with frequency=50Hz pi_pwm.start(0) # start PWM of required Duty Cycle try: while True: # pi_pwm.ChangeDutyCycle(angle_to_duty_cycle(float(input()))) for angle in range(0,180,1): pi_pwm.ChangeDutyCycle(angle_to_duty_cycle(angle)) time.sleep(0.1) for angle in range(180,0,-1): pi_pwm.ChangeDutyCycle(angle_to_duty_cycle(angle)) time.sleep(0.1) time.sleep(1) except KeyboardInterrupt: print("Bye bye") GPIO.cleanup()
Something else
Web sercurity (how to peek password)
Current go through body
CTF: cybersercurity contest
221118 basic python, Button and Control LED from web
python v.s java
Variables:
# python x, y = 12, 10 isTrue = True greeting = "Welcome!"// java int x = 12, y = 10; boolean isTrue = true; String greeting = "Welcome!";List and array:
# python countries = [ "Portugal", "England", "Brazil", "New Zealand", "Spain" ] numbers = [12, 14, 9, 10, 9] countries.sort() for i in range(0, 5, 1): # range(a, b, c) --> for (i=a; i<b; i=i+c) print(countries[i])// java import java.util.Arrays; public class Main { public static void main(String[] args) { // Working with Arrays String[] countries = { "Portugal", "England", "Brazil", "New Zealand", "Spain" }; int[] numbers = {12, 14, 9, 10, 9}; Arrays.sort(countries); // Looping through an Array for (int i=0; i<5; i++) { System.out.println(countries[i]); } } }if / else if / else
# python a = 111 b = 3 c = 300 if (a % b) == 0: print(f"{a} is dividable by {k}") elif a > c: print(f"{a} is greater than {c}") else: print(f"{a} is dividable by {k} nor greater than {c}") print(f"This is also a line a else") print(f"This is the line not in if, else if nor else.")// java int a = 111; int b = 3; int c = 300; if((a % b) == 0){ System.out.printf("%d is dividabble by %d\n", a, b); } else if(a > c){ System.out.printf("%d is greater than %d\n", a, c); } else { System.out.printf("%d is dividable by %d nor greater than %d\n", a, k, c); System.out.printf("This is also a line a else.\n"); } System.out.printf("This is the line not in if, else if nor else.\n");for
# python for i in range(0, 5, 1): print(f"This is #{i} iteration") print(f"print something else in the iteration") print(f"print after for, not in for, printed once")// java for(int i=0; i<5; i = i+1){ System.out.printf("This is #%d iteration\n", i); System.out.printf("print something else in the iteration\n"); } System.out.printf("print after for, not in for, printed once");while
# python num = int( input() ) print(f"You entered {num}") while num > 0: print(f"num is now {num}") num = num - 1// java Scanner scanner = new Scanner(System.in); int num = scanner.nextInt(); while(num > 0){ System.out.printf("num is now %d\n", num); num--; }function
# python def myMethod(): print("I just got executed!") def power(base: int, index: int) -> int: ans = 1 for i in range(0, index, 1): ans = ans * base return ans myMethod() print("base:", endl='') # endl='' means no newline base = int(input()) print("index:", endl='') index = int(input()) result = power(base, index) print(f"{base} to the power of {index} is {result}")// java public class Main { static void myMethod() { System.out.println("I just got executed!"); } static int power(int base, int index){ int ans = 1; for(int i=0; i<index; i++){ ans = ans * base; } return ans; } public static void main(String[] args) { int base = 0; int index = 0; int result = 0; Scanner scanner = new Scanner(System.in); myMethod(); System.out.print("base:"); base = scanner.nextInt(); System.out.print("index:"); index = scanner.nextInt(); result = power(base, index); System.out.printf("%d to the power of %d is %d\n", base, index, result); } }
Button: Digital Input
Ref
Pick an available pin without removing the wires of LED bar.
import RPi.GPIO as GPIO # Import Raspberry Pi GPIO library import time GPIO.setwarnings(False) # Ignore warning for now GPIO.cleanup() GPIO.setmode(GPIO.BCM) BTN_PIN = 17 # Pick what's available GPIO.setup(BTN_PIN, GPIO.IN, pull_up_down=GPIO.PUD_UP) count = 0 try: while True: # Run forever if GPIO.input(BTN_PIN) == True: print(f"Button was pushed!, count={count}") count = count + 1 except KeyboardInterrupt: GPIO.cleanup()
TODO: Make each press increase count by 1. Hint: time.sleep()
TODO: Make long press also increase count by 1. Hint: while
TODO: Each time a button is pressed, turn on 1 more LED
All off –> 1 LED on –> 2 LEDs on … -> 10 LEDs on –> All off –> 1 LED on …
Hint:
(1) Try to print how many LED should be turned on every time a button is pushed
(2) Try to advance led count by 1 each time a button is pressed instead of advancing quickly
(3) Turn on LED bar with coressponding led count you print
Control LED through your phone
Install python server libray:
pip3 install flask
The simplest flask example:
from flask import Flask # __name__: current module app = Flask(__name__) @app.route('/') def hello(): return 'Hello, World!\n' @app.route('/my_girlfriend') def my_girlfriend(): return 'Oops, not found\n' app.run(host='0.0.0.0',port=5000)
Connect your laptop or phone to the same Wi-Fi as raspberry pi connected to.
Create file index.html:
<!DOCTYPE html> <html> <body><center> <h1>Richard LED contorl</h1><br> Ciclk to turn <a href="led_on">LED ON</a><br> Ciclk to turn <a href="led_off">LED OFF</a><br> </center></body> </html>
from flask import request, render_template import flask # __name__: current module app = flask.Flask(__name__, template_folder='.') def led(state): return @app.route('/') def hello(): return 'Hello, World!\n' @app.route('/main', methods=['GET', 'POST']) def main_page(): if request.method == 'POST': print(request.values['data']) return render_template('./index.html') @app.route('/led_on') def web_call_led_on(): print("Led on") # TODO: Turn on LED return render_template('./index.html') @app.route('/led_off') def web_call_led_off(): print("Led off") # TODO: Turn off LED return render_template('./index.html') # TODO: Init GPIO (setwarnings, cleanup, setmode, setup) app.debug = True app.run(host='0.0.0.0',port=5000)
TODO: Turn LED on and off using browser.
Project discussion
Possible featuresProsConsDifficultySlapping alarmRemote wake up
Webcam
Super loud speaker
Big vibratorEasy
Fun
Eye-catching
Still learn a lot like other projectsLooks less professional
No good idea for branding2RoboticsCaterpillar tracks/wheels/biomimetic
Grab stuff w/ arm
Object trackingGood for demonstration
Easy branding: disaster relief, enviormental protection…
Ready-made kits/module
Eye catachingTakes more time
Time on coding, circuits and mechanis
Costly5Sercurity gateFacial recognition
Finger print
Webcam
Remote accessA glance at AI/deep learning
PracticalMechanics
Facial recognition takes more time to implement
Less eye catching4Emergence response systemEarthquake detection
Fire/gas leakage detection
On-site/remote alarm
Automatic emergency call
Automatic door openEasy
Branding idea clear
Materials are inexpensiveTedius
Hard open a life size door2Wether stationTemperature/humidity
PM2.5/rain/wind/visibility
Measurement/forecastEasy
The only practical one
Materials are inexpensiveLess eye catching
Products like this already in the market1
221112 LED bar with python list
Python list practice
Let's say we want to print a user defined sequence [1, 3, 6, 12, 80, 77, -56]
Without list:
print(1) print(3) print(6) print(12) print(80) print(77) print(-56)
With list:
seq = [1, 3, 6, 12, 80, 77, -56] # seq[index], index starts from 0 print("list length = " + len(seq)) for i in range(len(seq)): # range(K) --> i = 0~K-1 print(seq[i])
Or you can also print like this:
for num in seq: print(num)
LED bar, resistor array
TODO: Wire the LED bar with pi and light them up
Hint: Slide down for code from last week
# Paste your code here
DHT11: temperature and humidity sensor
Ref1, Ref2
Install DHT11 library:
sudo pip3 install Adafruit_DHT
import Adafruit_DHT import time DHT_SENSOR = Adafruit_DHT.DHT11 DHT_PIN = 4 while True: humidity, temperature = Adafruit_DHT.read(DHT_SENSOR, DHT_PIN) if humidity is not None and temperature is not None: print("Temp={0:0.1f}C Humidity={1:0.1f}%".format(temperature, humidity)) else: print("Sensor failure. Check wiring."); time.sleep(3);
TODO: Map the temperatuer to LED bar
(1) Map a range of temperature (low, high), e.g. (20, 30), that maps to (1, 10) leds
(2) Limit the led count if temperature is below/over low/high
# Paste your code here
221105 OS setup, basic LED, HCSR-04
self intro
education, hobbies, specialties, hexapod
Install OS and setup:
Install debian on a SD card, official pi imager, Ref
Becareful when you insert/remove SD card on pi, make sure it's been turned off and unplugged.
Also, try not to touch the components on the board. Static charges are strong sometimes.Connect to wifi
Install anydesk on pi and your PC, Ref
Basic cmds:
ls,pwd,cd,mkdir,mv,cp,rm, …, Refls # List the files under `pwd` pwd # Show present working directory cd <DIR> # Change present working directory to `<DIR>`, which can be relative or absolute address touch <file_name> # If `<file_name>` does not exist, create an empty file named `<file_name>` nano <file_name> # Edit a text file named <file_name> rm <file_name> # Remove <file_name> (delete the file directly without going to trash can)Important concept: present working directory, it's like where you are with the windows Media Explorer opened.
TODO: Create a text file and remove it with commands.
SSH
VS code
python with basic GPIO:
Connection:
(LED: the longer leg or the smaller piece is usually the positive side)
(Resistor: no polarity)
(Breadboard)LED on/off, Ref
import RPi.GPIO as GPIO import time LED_PIN = 18 GPIO.setmode(GPIO.BCM) # set pin numbering mode GPIO.setup(LED_PIN, GPIO.OUT) for i in range(0, 5): GPIO.output(LED_PIN, GPIO.HIGH) time.sleep(1) GPIO.output(LED_PIN, GPIO.LOW) time.sleep(1) GPIO.cleanup()
TODO: Blink the led for 20 times with a faster rate. (duration between on and off ~= 500)
LED PWM, Ref
We can change the brightness by changing the output voltage. However, raspberry pi has only digital output, i.e., only on and off state. We toggle on and off quickly so that that human eyes cannot see and control the brightness by adjusting the ratio of time of on and off.import RPi.GPIO as GPIO import time LED_PIN = 18 GPIO.setmode(GPIO.BCM) # set pin numbering mode GPIO.setup(LED_PIN, GPIO.OUT) # set pin to output mode GPIO.output(LED_PIN, GPIO.LOW) # turn pin to low GPIO.setwarnings(False) # disable warnings GPIO.setup(LED_PIN, GPIO.OUT) pi_pwm = GPIO.PWM(LED_PIN, 1000) # create PWM instance with frequency pi_pwm.start(0) # start PWM of required Duty Cycle try: while True: for duty in range(0,101,1): # range(from, to+1, step), i.e., duty=0, 1, 2, 3..., 100 pi_pwm.ChangeDutyCycle(duty) # provide duty cycle in the range 0-100 time.sleep(0.05) # wait 0.05 second each time brightness is changed time.sleep(1) # Wait 1 second after the loop except KeyboardInterrupt: print("Bye bye") GPIO.cleanup()
TODO: Make it repeats: brighter –> dimmer –> brighter –> dimmer…
HC-SR04, distance sensor, Ref
import RPi.GPIO as GPIO import time #GPIO Mode (BOARD / BCM) GPIO.setmode(GPIO.BCM) #set GPIO Pins GPIO_TRIGGER = 18 GPIO_ECHO = 24 #set GPIO direction (IN / OUT) GPIO.setup(GPIO_TRIGGER, GPIO.OUT) GPIO.setup(GPIO_ECHO, GPIO.IN) def distance(): # set Trigger to HIGH GPIO.output(GPIO_TRIGGER, True) # set Trigger after 0.01ms to LOW time.sleep(0.00001) GPIO.output(GPIO_TRIGGER, False) StartTime = time.time() StopTime = time.time() # save StartTime while GPIO.input(GPIO_ECHO) == 0: StartTime = time.time() # save time of arrival while GPIO.input(GPIO_ECHO) == 1: StopTime = time.time() # time difference between start and arrival TimeElapsed = StopTime - StartTime # multiply with the sonic speed (34300 cm/s) # and divide by 2, because there and back distance = (TimeElapsed * 34300) / 2 return distance # ----- main try: while True: dist = distance() print ("Measured Distance = %.1f cm" % dist) time.sleep(1) # Exit by pressing CTRL + C except KeyboardInterrupt: print("Measurement stopped by User") GPIO.cleanup()
import RPi.GPIO as GPIO import time #GPIO Mode (BOARD / BCM) GPIO.setmode(GPIO.BCM) #set GPIO Pins GPIO_TRIGGER = 18 GPIO_ECHO = 24 LED_PIN = 12 #set GPIO direction (IN / OUT) GPIO.setup(GPIO_TRIGGER, GPIO.OUT) GPIO.setup(GPIO_ECHO, GPIO.IN) GPIO.setmode(GPIO.BCM) # set pin numbering mode GPIO.setup(LED_PIN, GPIO.OUT) # set pin to output mode GPIO.output(LED_PIN, GPIO.LOW) # turn pin to low GPIO.setwarnings(False) # disable warnings GPIO.setup(LED_PIN, GPIO.OUT) def distance(): # set Trigger to HIGH GPIO.output(GPIO_TRIGGER, True) # set Trigger after 0.01ms to LOW time.sleep(0.00001) GPIO.output(GPIO_TRIGGER, False) StartTime = time.time() StopTime = time.time() # save StartTime while GPIO.input(GPIO_ECHO) == 0: StartTime = time.time() # save time of arrival while GPIO.input(GPIO_ECHO) == 1: StopTime = time.time() # time difference between start and arrival TimeElapsed = StopTime - StartTime # multiply with the sonic speed (34300 cm/s) # and divide by 2, because there and back distance = (TimeElapsed * 34300) / 2 return distance # ----- main pi_pwm = GPIO.PWM(LED_PIN, 1000) # create PWM instance with frequency pi_pwm.start(0) # start PWM of required Duty Cycle try: while True: dist = distance() print ("Measured Distance = %.1f cm" % dist) duty = dist * 2 if dist > 100: duty = 100 pi_pwm.ChangeDutyCycle(duty) time.sleep(1) # Exit by pressing CTRL + C except KeyboardInterrupt: print("Measurement stopped by User") GPIO.cleanup()
TODO: When your hand gets closer to the sensor, make LED go brighter. vise versa.